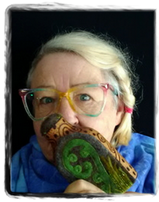
Janet M. McDonald - Multi Media Artist - New Zealand
All Products and Designs are Exclusive to this website
Purchase Needlework and Quilting Designs
Janet M. McDonald Davies - Multi Media Artist - New Zealand
 Janet
Janet
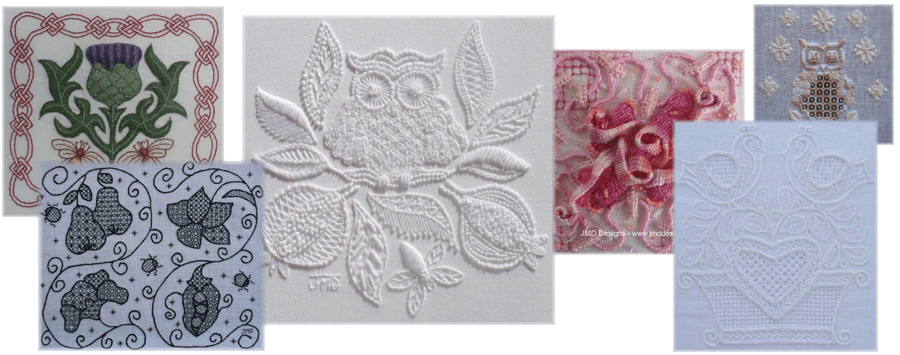
Janet is the author of 7 Needlework books on the subjects of hand made Needlework from the 13th to 19th century. She has written for various international magazines or has had articles written about her.
Janet has been acknowledged by the New Zealand Government for her contribution to the Arts in New Zealand. She has participated in art projects that hang in the New Zealand Parliament building (Beehive). Her current range of Quilting and Needlework designs sell around the world.
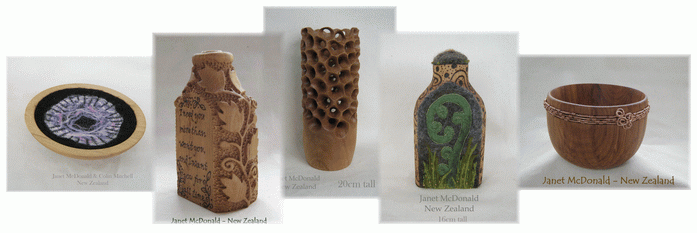
Janet is now focusing on woodturning objects on her lathe and adorning them with all types of creativity including pyrography.
Janet has her maiden name back, McDonald. Previously published under Janet M. Davies
Janet has been acknowledged by the New Zealand Government for her contribution to the Arts in New Zealand. She has participated in art projects that hang in the New Zealand Parliament building (Beehive). Her current range of Quilting and Needlework designs sell around the world.
Janet is now focusing on woodturning objects on her lathe and adorning them with all types of creativity including pyrography.
Janet has her maiden name back, McDonald. Previously published under Janet M. Davies
All products are exclusive to this website